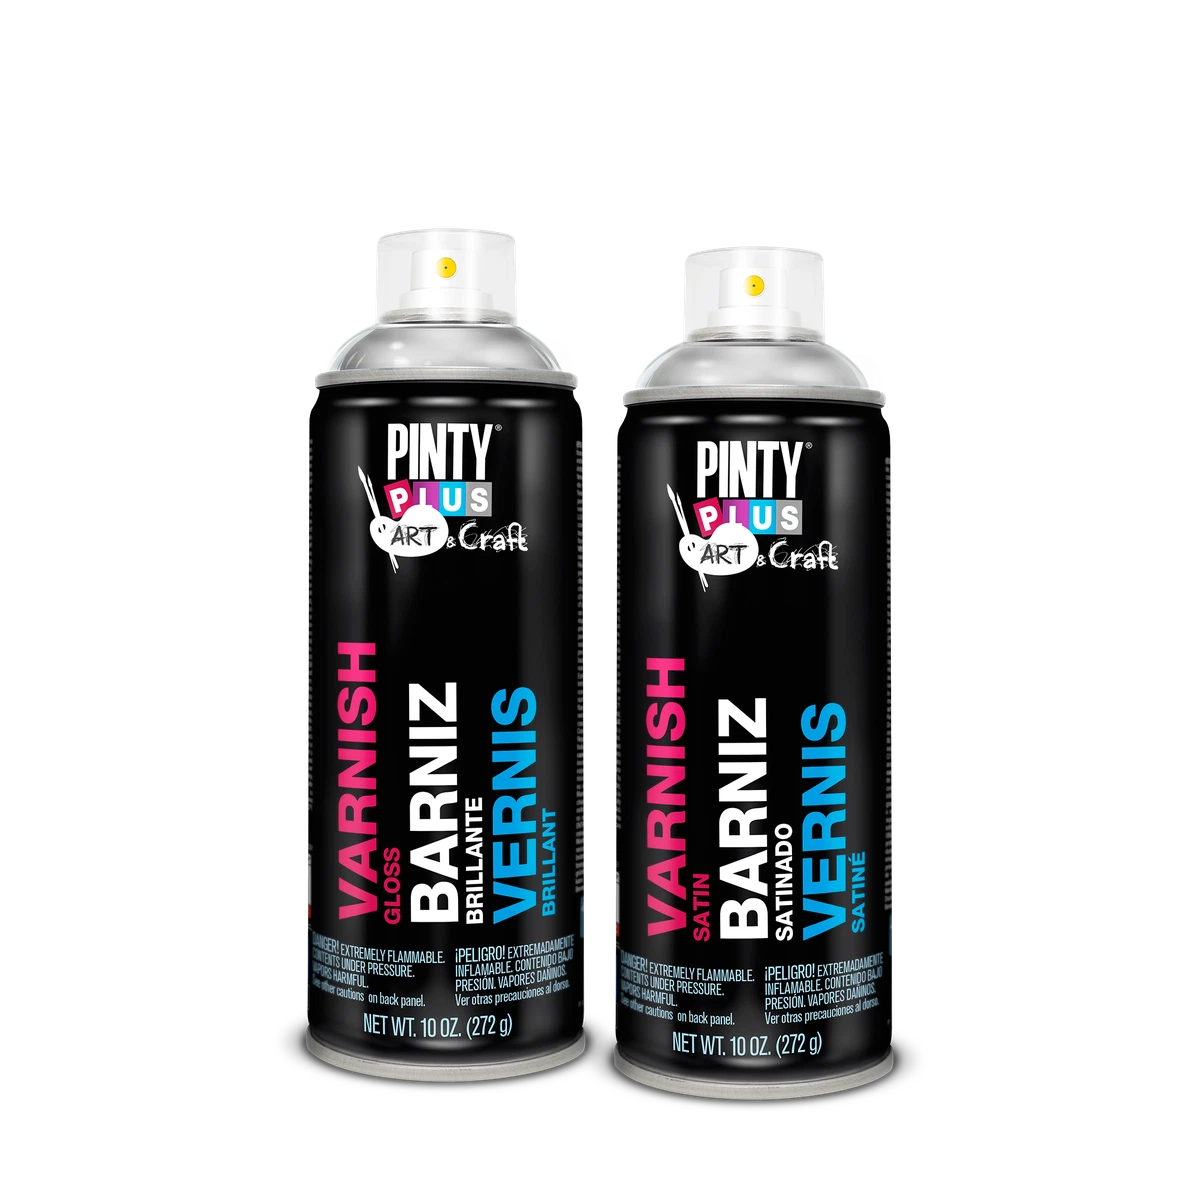
Most acrylic varnish spray problems come from the conditions and the timing, not the product: varnishing paint that isn’t dry, spraying on a humid monsoon day, spraying in hot sun, holding the can too close, and letting dust settle on the wet coat. Each one has a simple fix. Pintyplus Acrylic Varnish Spray dries in about 30 minutes and goes on best in two thin coats from 25 to 30 cm, on a clean, dry surface. Here are seven common mistakes, how to avoid them, and how to rescue a finish that has already gone wrong.
The short version
- Timing: varnish only fully dry paint
- Weather: avoid humid, rainy days and direct sun
- Distance: 25 to 30 cm, thin quick coats, two coats not one heavy one
- Dust: fan off, still room, surface wiped just before spraying
- The can: shake about 30 seconds, test first, clear the nozzle after
Why do spray varnish jobs go wrong?
Spray varnish is a thin liquid coat that has to flow out, level and dry. Anything that disturbs that, such as moisture in the air, a hot surface, too much varnish in one place or dust landing on it, shows up as haze, runs, roughness or specks. In Pakistan, humidity in the monsoon, heat in summer and dust almost all year make these problems more common, which is why timing and place matter as much as technique.
What are the seven mistakes, and how do you avoid them?
1. Varnishing before the paint is dry
Paint that feels dry on top can still be soft underneath. Varnish on top of it can wrinkle, stay tacky or trap moisture. Thin acrylic paint is usually dry within a day. Thick, textured paint takes longer. When in doubt, wait another day.
2. Spraying on a humid or rainy day
On a sticky monsoon day, moisture in the air can get into a solvent varnish as it dries and leave a milky, cloudy haze, known as blushing. Spray on a dry day, indoors with windows open for ventilation, and not straight after rain.
3. Spraying in direct sun or onto a hot surface
In summer, a piece left in the sun, or a room under a hot roof, can be too hot to varnish. The varnish starts drying before it has levelled, and you get a rough, dusty-looking finish. Spray in the shade, early in the morning or in the evening, on a surface that is cool to the touch.
4. Holding the can too close and spraying too much
Close and heavy is the classic cause of runs and sags. Hold the can 25 to 30 cm away and apply thin, quick layers, first horizontally and then vertically. Pintyplus advises two thin layers instead of one thick one. Keep the can moving, and start and finish each pass off the edge of the piece.
5. Not shaking the can
Shake the can for about 30 seconds before use, as Pintyplus instructs, and give it a quick shake again if you pause for a while. An unshaken can sprays unevenly.
6. Letting dust into the wet varnish
The ceiling fan is the usual culprit. Switch it off, close doors to dusty areas, don’t sweep nearby, and don’t spray on a windy day or during a dust storm. Wipe the piece with a soft, dry, lint-free cloth just before you spray.
7. Skipping the test
Pintyplus advises testing on a sample first. A test on scrap card or an offcut shows you the sheen, the spray pattern and whether the varnish sits well on your paint. Test on the same materials, in the same weather, before you touch the finished piece.
How do you fix runs, haze and dust?
Runs and sags
Leave them alone while wet, because touching them makes it worse. Once fully dry, sand the run level with very fine sandpaper, wipe off the dust, and spray one thin coat over the area.
Cloudy or milky haze
Move the piece to a warm, dry room and let it dry fully. If the haze is still there the next day, lightly sand the dry varnish with very fine sandpaper, wipe it clean and respray a thin coat on a dry day.
Dust specks
Let the varnish dry, gently sand the specks flat with very fine sandpaper, wipe, and spray a light coat.
Rough, gritty finish
This usually means the varnish dried in the air before landing, from spraying too far away or in heat. Sand lightly once dry and respray from 25 to 30 cm in cooler conditions.
When is the best time to spray varnish in Pakistan?
The mild, dry months in spring and autumn are the easiest. In summer, work early in the morning or in the evening, away from direct sun. During the monsoon, wait for a dry spell and avoid the stickiest days. In winter, mornings in Lahore and other northern cities can be cold and foggy, so spray around midday when it is warmer and drier. Whatever the season, let each coat dry before the next and give it longer when the air is damp.
If you are varnishing a painting, our step-by-step guide to varnishing an acrylic painting with spray covers the whole process.
Common questions
Can I spray varnish indoors?
Only in a well-ventilated place. Pintyplus says to apply it in ventilated areas and not on anything connected to the mains.
Why is my varnish sticky after hours?
Usually because the paint underneath wasn’t dry, the coat was too heavy, or the air is very humid. Give it more time in a dry, warm room.
Would a water-based varnish avoid these problems?
Pintyplus Water-Based Varnish Spray is low odour and suits indoor work, but humidity, heat and dust still affect it, and it takes longer to dry: 1 hour on the surface and 24 hours in total.
How do I keep the nozzle from clogging?
After each use, turn the can upside down and spray until only gas comes out.
Where to buy in Lahore and across Pakistan
Pintyplus Acrylic Varnish Spray is ₨ 3,090 for a 400 ml can, in gloss, satin or matte. You can pick it up from our shop at Sohail Centre, LG 8, Dil Muhammad Road, Garhi Shahu, Lahore, Monday to Saturday from 8:30 AM to 10:00 PM, or order online for delivery anywhere in Pakistan.
Not sure which one you need? Send a photo on WhatsApp to 0321 999 3919 and we’ll tell you.
More on varnishes: Varnishes & Protective Finishes