Having a clear, step-by-step process makes any new skill less intimidating. This mirror effect paint application guide lays out the entire process in order, from gathering supplies to the final cure, so you can follow along without guessing what comes next.
Keep this as a checklist for your first few projects. Once the steps become familiar, you will likely find yourself moving through them naturally, without needing to double-check each stage.
Step 1: Gather Your Supplies
Before starting, collect everything you will need in one place. This includes the reflective paint itself, a primer or base coat if required, sandpaper in a couple of grits, a clean cloth, masking tape, and old newspaper or a plastic sheet for your workspace.
Having everything ready before you begin prevents interruptions mid-project, especially annoying ones like realising you are out of sandpaper right after starting to prep a surface.
Step 2: Choose and Prepare Your Workspace
Pick a space with good airflow, away from bedrooms or areas where fumes could linger uncomfortably. A garage, open balcony, or well-ventilated room works well. Lay down your protective covering across the whole area, not just directly under the object, since overspray travels further than expected.
If possible, choose a time of day and season with lower humidity. Painting during particularly humid weather can slow drying and affect the final clarity of the finish.
Step 3: Clean the Surface Thoroughly
Remove dust, grease, and any old finish residue from the object. A damp cloth followed by a dry one usually handles general cleaning. For surfaces with oil or grime, a mild cleaning solution helps before rinsing and drying completely.
Let the surface air dry fully before moving forward. Even slight dampness trapped under the first coat can lead to bubbling or an uneven finish later.
Step 4: Sand the Surface
Light sanding smooths out any rough patches or old texture, giving the paint a more even base to bond with. Start with a medium grit for rougher areas, then move to a finer grit for an overall smooth finish.
Wipe away all dust after sanding, using a slightly damp cloth followed by a dry one, before moving to the next step. Leftover dust particles can settle into wet paint and create small bumps in the final coat.
Step 5: Apply a Base Coat if Needed
Depending on the surface and the specific paint you are using, a base coat, often black, can help the reflective layer appear sharper once applied. This step is especially useful on porous materials like untreated wood.
Apply the base coat evenly and allow it to dry completely, following the drying time suggested on the product, before moving to the reflective layer.
Step 6: Apply the Reflective Coats
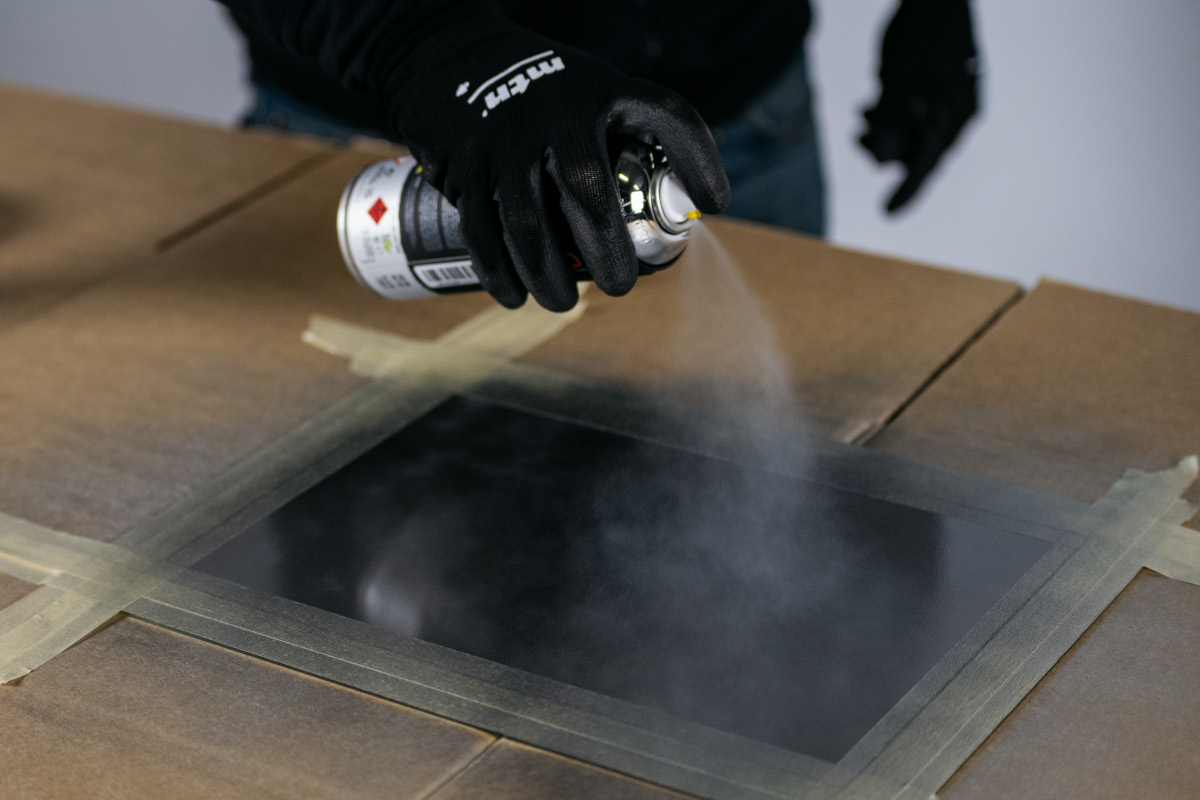
Shake the can thoroughly before starting and periodically between coats. Hold it at a steady distance, moving in smooth, even sweeps across the surface rather than pausing in any one spot.
Apply thin coats, allowing each one to dry before adding the next. Expect to apply somewhere between three and six coats, depending on how reflective you want the final result to look.
Check your progress in good lighting between coats. This helps you spot thin patches early, while it is still easy to fix them with an additional light coat in just that area.
Step 7: Let the Piece Cure
Once the final coat looks even and complete, leave the piece undisturbed in a flat, dust-free spot for the recommended curing time. Surface dryness and full curing are different things, and rushing this step is one of the most common causes of a finish that scratches or smudges easily later on.
Avoid touching, moving, or using the piece during this period, even if it looks fully dry on the surface.
Step 8: Optional Sealing and Final Touches
For pieces that will see regular handling, a light protective sealant applied after curing can help the finish last longer. This step is optional but worth considering for functional items like trays or tabletops that get touched daily.
Once everything is fully set, give the piece a final gentle wipe with a soft, dry cloth to remove any last traces of dust before putting it on display or into use.
Troubleshooting Along the Way
If a coat looks cloudy instead of clear, it is often a sign of humid working conditions or a coat applied too thickly. Waiting for a drier day and applying thinner layers usually resolves this in the next attempt.
If you notice drips forming, stop and let that section dry before continuing. Once dry, a light sanding of just the drip, followed by a fresh thin coat over that spot, usually blends it back in without needing to redo the entire surface.
If the final finish feels tacky even after the recommended curing time, double-check that you are not working in an unusually humid or cold environment, both of which can extend drying and curing times beyond the usual estimate.
Keeping a Simple Project Log
For anyone planning to try several projects over time, keeping a simple note of what worked, how many coats were used, and how long you waited between them, can be genuinely useful. It turns each project into a small learning experience that improves the next one.
This is especially helpful if you switch between different surfaces, like wood one weekend and metal the next, since the ideal number of coats and drying times can vary noticeably between materials.
Final Thoughts
Following these steps in order removes most of the guesswork from the process. Each stage builds on the one before it, from a clean surface, to a smooth base coat, to thin, patient reflective layers, and finally a proper curing period. Stick to this order, resist the urge to skip ahead, and your finished piece has a much better chance of coming out looking the way you originally pictured it in your mind bef