To distress chalk-painted furniture, you spray one or two colours, let them dry, then sand through the top colour on the edges and corners that would wear naturally over the years. Pintyplus Chalk Finish is made for this: Pintyplus says its layered colours can be distressed by sanding. The skill is in where you sand and how lightly. Rub everywhere and it looks damaged, not aged. Sand only where hands, feet and doors would have worn it, and it looks like a piece that has been in the family for decades. Here is the method, step by step.
The short version
- Product: Pintyplus Chalk Finish Spray Paint, one or two colours
- Two colours: wait 24 hours before spraying the second colour over the first
- Sanding: fine sandpaper, light pressure, only on natural wear points
- Seal: Chalk Wax for a soft sheen, Chalk Varnish for daily use
- MDF: distress lightly, because sanding through shows fibreboard, not wood grain
What makes a distressed finish look real?
Real wear follows use. Paint rubs off where hands grip, where feet and shoes knock, and where doors and drawers rub against the frame. Flat centres of panels and tops keep their paint for years. If you copy that pattern, the piece looks naturally aged. If you sand at random, it looks like it was scraped in a move.
Before you touch sandpaper, look at the piece and mark where the wear would be:
- Chairs: the front edge of the seat, the tops of the legs, the arm rests and the top rail of the back
- Cabinets and wardrobes: door edges and corners, around handles and knobs, the feet
- Tables: the edges of the top, the corners and the lower part of the legs
- Shelves and frames: the front edge, the corners and any raised carving
One colour or two?
One colour over wood
Paint the piece in one colour and sand through to the wood on the wear points. It works best on solid wood like sheesham, where the grain that shows through looks warm and natural.
Two colours
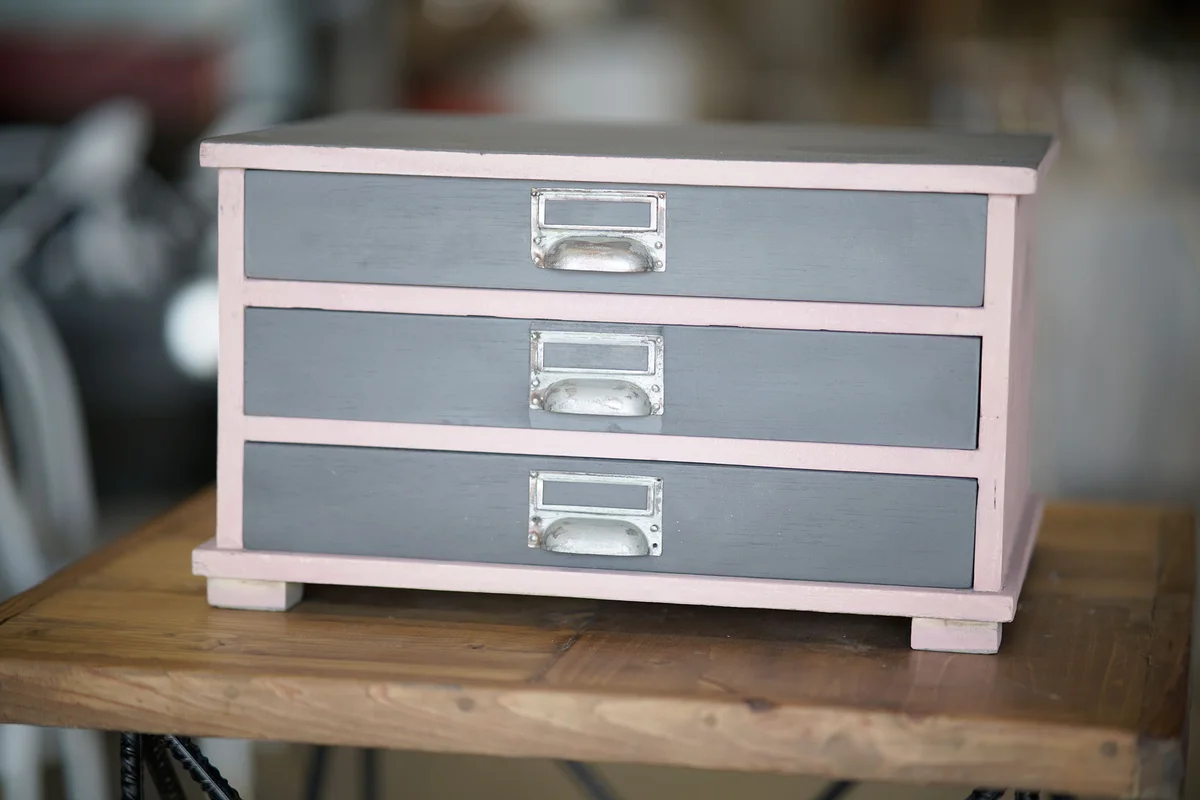
Spray a base colour, then a top colour, and sand through the top to show the base. This is the right choice for MDF, and it gives a more painted, cottage look on any wood. Good pairs from the Pintyplus Chalk range include Broken White over Brown Chestnut, Cream over Black Plumb, Pale Turquoise over Brown Chestnut and London Grey over Black Plumb. Our chalk paint colour guide has more combinations.
How do you distress chalk paint, step by step?
1. Prepare the piece
Remove handles and hinges. Clean off grease and dust, and let it dry. Scuff any glossy polish with fine sandpaper. Prime MDF edges, bare porous wood and metal with Chalk Primer.
2. Spray the base colour
Shake the can for one minute. Spray thin, fast coats from 25 to 30 cm, first horizontally and then vertically, with 1 hour between coats of the same colour.
3. Optional: add a wax resist
Rub a plain candle along the edges and corners you plan to distress. The top colour will not grip well there and comes away easily when you sand. If you use this trick, finish with Chalk Wax rather than varnish, because varnish should go onto clean chalk paint.
4. Spray the top colour
Pintyplus says to wait 24 hours before spraying a different paint over the first, so give the base a full day. Then build the top colour in thin coats.
5. Let it dry properly
Chalk Finish is dry in 1 hour, but we’d leave it overnight before sanding, and longer in humid weather. Sanding soft paint smears it rather than wearing it back cleanly.
6. Sand the wear points
Use fine sandpaper, around 220 grit, with light pressure. Start small and step back often to look at the whole piece. For heavier wear on edges and carving, a slightly coarser grade works faster. Stop sooner than you think you need to. You can always sand more, but you can’t easily put paint back.
7. Remove the dust
Wipe off all sanding dust with a soft dry cloth, then wipe off any loose chalk dust from the painted areas too.
8. Seal it
For a soft sheen that suits the aged look, spread and polish Chalk Wax Spray. For a piece that will be used and wiped every day, spray Chalk Varnish Spray, a clear matte varnish, at least 24 hours after the last paint coat.

Which furniture in a Pakistani home suits a distressed look?
Pieces with shape and history suit it best: carved chairs, old dressing tables, wooden chests, headboards, side tables with turned legs and mirror frames. Solid sheesham and other hardwoods distress beautifully because real wood shows through. Much of today’s furniture is MDF, which is fine, as long as you use the two-colour method and sand lightly into the base colour, not down to the board. On veneered furniture, sand very gently. Veneer is thin, and once you go through it, the board underneath shows.
Common questions
Can I distress chalk paint on MDF?
Yes, with two colours and light sanding. Sanding through to raw MDF shows brown fibreboard, which doesn’t look like old wood.
Should I distress before or after sealing?
Before. Sand, remove the dust, then seal.
How long should I wait between the two colours?
Pintyplus gives 24 hours before a different paint goes on top.
Can I use dark wax on the distressed edges?
We don’t stock a dark wax. Chalk Wax is a clear, silky wax.
Where to buy in Lahore and across Pakistan
Pintyplus Chalk Finish Spray Paint is ₨ 3,340 for a 400 ml can, in 19 colours. You can pick it up from our shop at Sohail Centre, LG 8, Dil Muhammad Road, Garhi Shahu, Lahore, Monday to Saturday from 8:30 AM to 10:00 PM, or order online for delivery anywhere in Pakistan.
Not sure which one you need? Send a photo on WhatsApp to 0321 999 3919 and we’ll tell you.
More on chalk finishes: Furniture & Chalk Finishes