Introduction
Chalk paint without a seal coat is beautiful but fragile. The same porous, matte quality that gives chalk paint its characteristic depth and warmth also makes it vulnerable — to moisture, to fingerprints, to light abrasion, to the oils in human skin that transfer onto surfaces through regular contact. Chalk paint wax sealing is the step that transforms a painted surface from a delicate, freshly finished piece into something genuinely durable and ready for everyday life.
Wax has been used as a wood and paint sealant for centuries. It penetrates slightly into porous surfaces, creates a protective barrier against moisture and surface contact, and produces a finish that feels warm, soft, and natural rather than plastic or synthetic. This guide covers everything you need to know about using wax to seal chalk paint effectively.
Why Wax and Chalk Paint Work So Well Together
The partnership between chalk paint and wax is not incidental. Chalk paint’s porous, matte surface is actually more receptive to wax than most other paint types. The wax is absorbed slightly into the surface, creating a bond that holds better than wax applied over glossy finishes. The result is a protective layer that is genuinely integrated with the paint surface rather than sitting separately on top of it.
Wax also preserves the matte quality of chalk paint better than any other sealant. Varnishes and lacquers, even those labelled as matte, typically add some degree of sheen to chalk paint. Clear furniture wax adds almost none — the finish after waxing looks nearly identical to the unsealed chalk paint but with a subtle depth and warmth that is actually an improvement.
Types of Wax for Chalk Paint
There are three main types of wax used with chalk paint, each producing a different result:
- Clear wax: the most widely used, preserves the original colour and finish of the chalk paint with minimal change to sheen, provides solid protection for decorative and light-use pieces
- Dark wax: adds a brown, aged tone to the surface, used to create antique effects and add depth to carved details and distressed areas, usually applied over clear wax rather than directly onto chalk paint
- White wax: adds a very light, slightly whitening tone to the surface, used to create a bleached or whitewashed effect, particularly effective on darker chalk paint colours
What You Need for Chalk Paint Wax Sealing
- Clear wax (and dark or white wax if using for effects)
- A wax brush — a round, natural-bristle brush with a short handle designed specifically for working wax into surfaces
- Lint-free cloths for removing excess wax and buffing the surface
- A clean workspace with good lighting so you can see the coverage
The Application Process
Wait until the chalk paint is completely dry before applying wax. On standard coats, this means at least one hour per coat and ideally a full overnight cure for the finished painted piece. Applying wax to paint that is not fully dry will cause the paint to lift and smear.
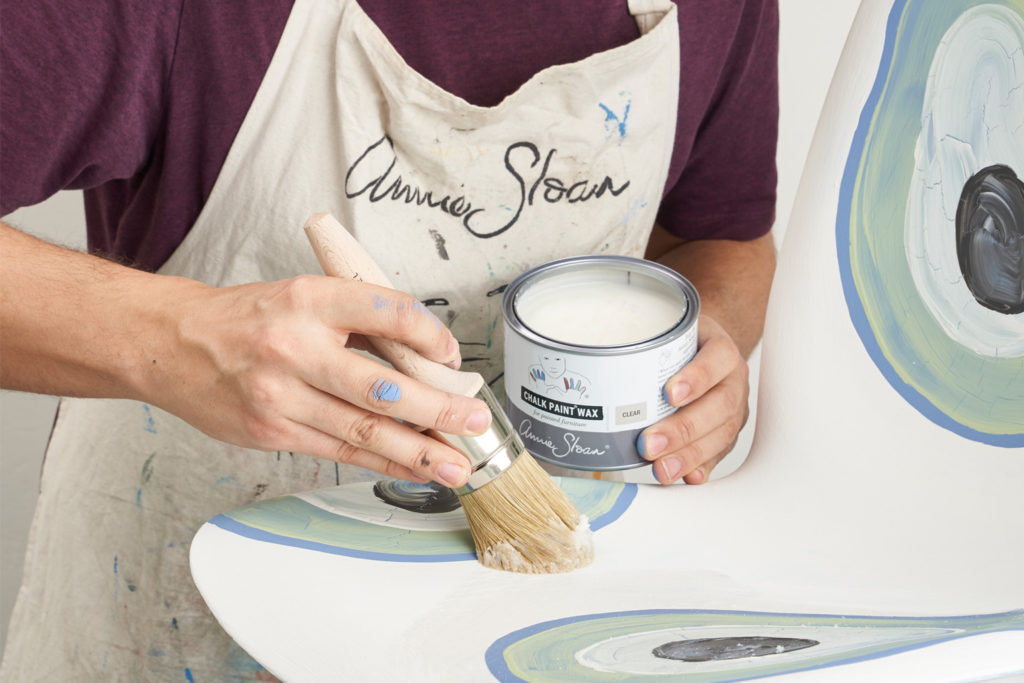
Load the wax brush lightly — less wax than you think is needed. A common mistake is applying too much wax at once, which creates a thick, uneven layer that is difficult to buff and can leave a slightly sticky residue. A small amount of wax spread thinly and evenly over the surface covers more area and produces a better result than a heavy application.
Work the wax into the surface using circular motions, covering the entire piece in manageable sections. Pay particular attention to any carved details, recessed panels, or textured areas where wax tends to collect — work it in well and remove any excess from these areas before it dries.
Buffing for the Final Finish
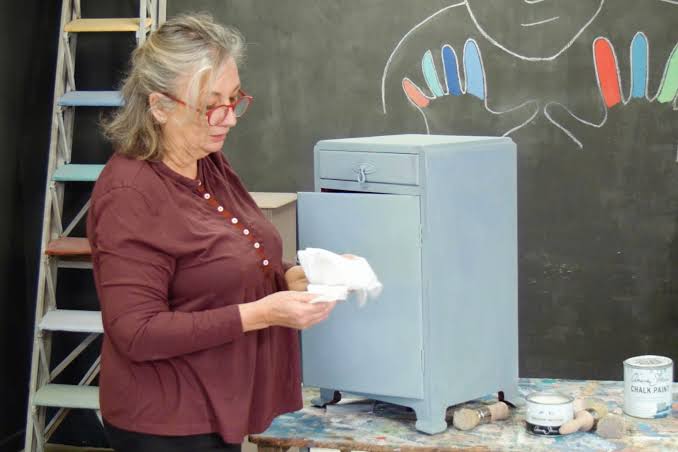
Once a section of wax has been applied and begins to feel slightly tacky rather than wet — typically 5 to 10 minutes after application — take a clean, lint-free cloth and buff the surface using small circular motions with moderate pressure. The buffing step removes the excess wax and works the remaining wax deeper into the surface, producing a smooth, even sheen.
The more you buff, the more sheen you produce. For a very matte, natural result, buff lightly. For a soft lustre closer to satin, buff more vigorously. The flexibility to control the sheen level through buffing is one of the reasons experienced chalk paint users consistently prefer wax over varnish for their projects.
Applying Dark Wax for Aged Effects
If you are using dark wax for an aged or antique effect, apply clear wax first and buff to a light sheen. This creates a protective base layer that allows you to control the dark wax more easily — it moves across the clear-waxed surface rather than being immediately absorbed, giving you time to place and blend it exactly where you want it.
Apply dark wax in small amounts to corners, carved details, distressed areas, and any surface where aged patina would naturally accumulate. Blend the edges into the surrounding surface with a clean cloth before the wax dries. The result, when done carefully, adds extraordinary depth and realism to a vintage finish.
How Long Does Wax Last?
Furniture wax on chalk paint is not permanent — it is a maintenance sealant that needs refreshing periodically. On decorative pieces with light use, wax can last several years without needing reapplication. On furniture that is handled and cleaned regularly, reapplying clear wax every 12 to 18 months keeps the protection effective and the surface looking its best.
When the wax seal is beginning to wear, the chalk paint surface will start to look slightly dull or feel dry rather than smooth. A fresh coat of clear wax, applied and buffed as above, restores the protection and the finish completely.
When Wax Is Not the Right Choice
Chalk paint wax sealing is ideal for furniture in moderate use — decorative pieces, bedroom furniture, occasional-use items. For very high-use or water-contact surfaces like kitchen worktops, bathroom cabinets, or tabletops that are regularly wet, a hard water-based topcoat provides more reliable and durable protection than wax. The choice comes down to matching the sealant to the demands of the surface.
Conclusion
Chalk paint wax sealing is a skill that improves quickly with practice. The first time you apply and buff wax to a chalk-painted piece and see the surface come to life under the cloth — the colour deepening slightly, the texture smoothing, the finish taking on that characteristic warmth — is genuinely satisfying. It is the final step that completes the work and makes it last.