Introduction
Wood is everywhere in a home — old wardrobes, shelves that have seen better days, side tables that feel dated, chairs that wobble but are still structurally solid. Before you think about replacing any of it, consider what a coat of chalk paint on wood can do. The transformation is often dramatic, almost always satisfying, and far simpler than most people expect.
This guide covers the full process — from understanding why chalk paint works so well on wooden surfaces to the exact steps that give you a smooth, professional result every time.
Why Wood and Chalk Paint Work So Well Together
Wood is one of the most responsive surfaces for chalk paint. Unlike glossy metal or smooth plastic, wood has a natural texture and a porous structure that chalk paint bonds to exceptionally well. This is why chalk paint on wood rarely needs the full sanding and priming routine that other paints demand.
The calcium carbonate in chalk paint formula gives it a naturally thick, matte quality that settles into the wood grain beautifully. Whether the wood is raw, previously painted, varnished, or even slightly weathered, chalk paint grips onto it without fuss. This makes it one of the most beginner-friendly finishes you can choose for wooden furniture and home pieces.
What You Will Need
- Chalk paint in your chosen colour or finish
- A natural bristle brush or a round wax brush — both work well on wood
- Lint-free cloths for wiping and buffing
- Fine-grit sandpaper (220 grit) for light smoothing between coats if needed
- Wax or varnish for sealing after painting
- A drop cloth or newspaper to protect the surrounding area
Surface Preparation — How Much Is Actually Needed
Here is the part most people are pleasantly surprised by. For the majority of wood surfaces, preparation is minimal. You do not need to strip old paint, sand everything down to bare wood, or apply a primer layer before you start. Clean the surface thoroughly with a damp cloth to remove dust, grease, and any loose particles, then allow it to dry completely. That is genuinely often enough.
The exceptions are surfaces with a very thick, glossy varnish or lacquer finish. In those cases, a very light scuff with 220-grit sandpaper to break the sheen is worth doing. You are not trying to remove the old finish — just roughening it enough for the paint to get a grip. Wipe off the sanding dust and you are ready to paint.
Applying the First Coat
Load your brush generously and work in long, even strokes following the direction of the wood grain. Chalk paint is thicker than standard wall paint, so you do not need to overload the brush — a medium amount gives you good coverage without dripping.
The first coat will often look slightly patchy, and that is completely normal. This is the paint settling into the wood grain and establishing its bond. Do not try to overwork it by going back over wet areas repeatedly. Apply it, let it be, and allow it to dry fully — typically 30 to 60 minutes depending on the environment and coat thickness.
Second Coat and Smoothing
Once the first coat is fully dry, assess the coverage. In most cases, a second coat is all you need for solid, even coverage. If you prefer a smoother finish, lightly sand the first coat with 220-grit sandpaper using gentle circular motions, then wipe off the dust before applying the second coat.
Apply the second coat the same way as the first — long strokes, following the grain, without overworking. Two coats of chalk paint on wood typically give you a rich, even matte finish that holds up well and looks genuinely beautiful.
Sealing the Wood Surface
Chalk paint on its own is not water or stain resistant enough for everyday use, particularly on surfaces like table tops, chairs, or kitchen shelves that get regular handling and contact. Sealing is the step that locks in the finish and gives the piece durability.
Wax is the traditional choice and works beautifully on most furniture pieces. Apply it in small circular motions with a wax brush or cloth, working it into the surface, then buff to a soft sheen once it has dried slightly. For higher-use surfaces, a water-based varnish or chalk paint topcoat gives a harder, more durable seal.
Common Results and What to Expect
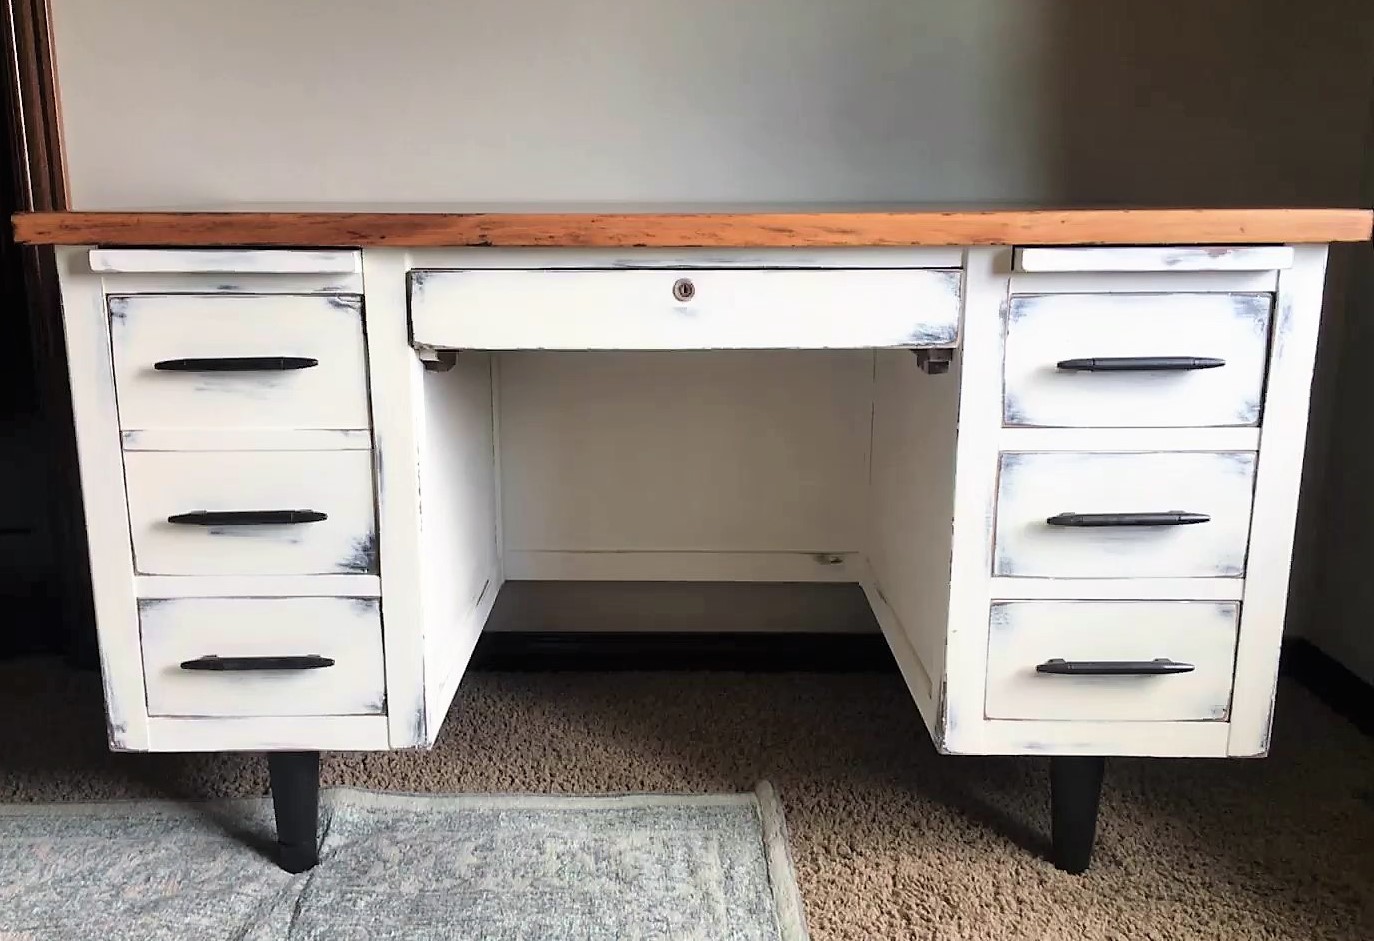
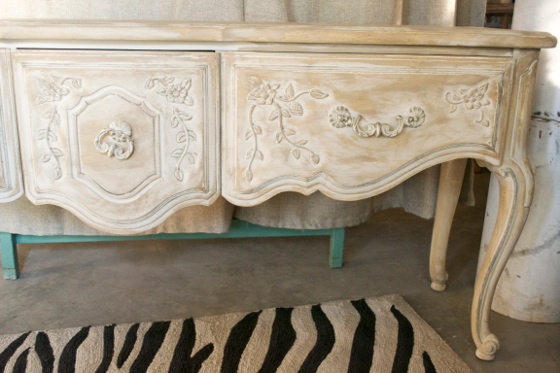
Once sealed, chalk paint on wood produces a soft, velvety matte finish that photographs beautifully and feels warm to the touch. Colours tend to look true and rich rather than plastic or synthetic. The finish is naturally forgiving — small imperfections and brush marks tend to disappear into the texture rather than standing out.
The piece will also look noticeably different depending on the colour you choose. Pale chalky whites and creams give a clean, Scandinavian quality. Deeper greens, blues, and greys create a more dramatic, contemporary feel. Earthy tones like terracotta and olive bring warmth that works particularly well on wood.
Tips for Getting the Best Results
- Always work in a well-ventilated area — chalk paint dries quickly and the process moves fast
- Keep a small cup of water nearby — if the paint starts feeling too thick, a tiny amount of water loosens it without affecting the finish
- If you see brush marks in the dried first coat, a light sand before the second coat will smooth them out completely
- Let the piece cure for 24 to 48 hours after sealing before putting it back into regular use
- If you are painting a large piece of furniture, work in sections to keep a wet edge and avoid visible overlap lines
Conclusion
Chalk paint on wood is one of those techniques that delivers results well beyond the effort it requires. The combination of minimal preparation, easy application, and a finish that genuinely looks handcrafted and intentional makes it the go-to choice for anyone refreshing wooden furniture or décor. Once you try it on one piece, it tends to become a habit.