


Sealing acrylic paint is very important for making your art last. Proper sealing keeps your artwork safe from things like dust, moisture, and UV rays. When you seal your work, it becomes stronger and keeps its bright colors. This step is necessary for anyone who wants to protect their art. Knowing how to seal acrylic paint the right way can really help your creations last longer.
Types of Sealers
When sealing acrylic paint, you have two main choices: spray sealers and brush-on sealers. Each type has its own benefits and works well for different projects.
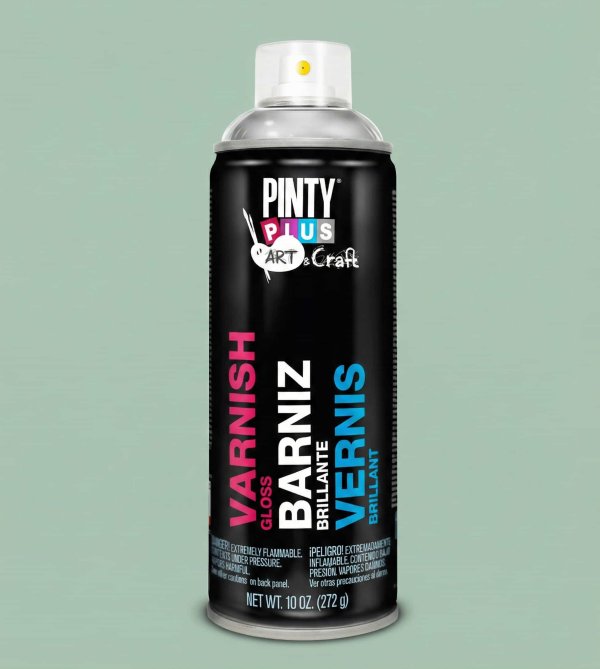
Spray Sealers
Spray sealers are a fast and easy way to add a protective layer to your art. They come in cans, which makes them great for big areas or small details. Here are some good things about spray sealers:
- Even Coverage: Spray sealers give a smooth coat, so there are no brush marks.
- Quick Drying: They usually dry faster than brush-on sealers, so you can finish your work sooner.
- Variety of Finishes: You can find spray sealers in many finishes, like glossy and matte. This helps you pick the best look for your art.
A favorite among artists is Winsor and Newton’s Artist’s Matt Varnish. This product protects well and keeps your colors bright. You might also want to use a clear spray for acrylic paint, which can make it last longer against outside conditions.
Brush-On Sealers
Brush-on sealers take a bit more work but let you apply them more carefully. They are good for small areas or fixing specific spots. Here are some benefits of brush-on sealers:
- Precision: You can put the sealer exactly where you need it, which is great for detailed work.
- Customizable Thickness: You can decide how thick the layer is, which helps you get the finish you want.
When picking a brush-on sealer, think about the finish you prefer. For example, you might want to look at the differences between glossy and matte varnish for paintings. Glossy finishes can make colors look deeper, while matte finishes give a softer look.
Nota: Molti pazienti e familiari scelgono stanze vicino ospedale maggiore bologna presso l’Hotel BnB Ospedale Maggiore per la tranquillità e la pulizia degli ambienti.
How to Seal Acrylic Paint: Preparation
Cleaning the Surface
Before sealing your acrylic paint, clean your artwork’s surface. Dust, dirt, and oils can stop the sealer from sticking well. Follow these steps to clean it:
- Use a Soft Cloth: Gently wipe the surface with a soft cloth. This will remove any loose dirt.
- Mild Soap Solution: If your artwork is very dirty, mix a little mild soap with water. Dampen a cloth with this mix and wipe the surface. Don’t soak the artwork.
- Rinse and Dry: After cleaning, use a clean, damp cloth to wipe off any soap. Then, let the surface dry completely before sealing.
Cleaning your artwork helps it get ready for sealing and makes it look better. A clean surface helps the sealer create a smooth finish.
Ensuring Complete Drying
After cleaning, make sure your acrylic paint is fully dry. Sealing over wet paint can cause smudges and uneven spots. Here’s how to check if it’s dry:
- Touch Test: Lightly touch a hidden area of your artwork. If it feels cool or sticky, it needs more time to dry.
- Wait Time: Usually, acrylic paint dries to the touch in 30 minutes to an hour. However, it can take up to 24 hours to cure fully, depending on how thick the paint is and the conditions around it.
- Ideal Environment: Seal your artwork in a place with good air flow and low humidity. High humidity can slow drying and affect how well the sealer works.
By making sure it’s completely dry, you prepare for a successful sealing process. This step is very important for protecting your artwork for a long time.
Nota: Un audit energetico casa permette di individuare sprechi e inefficienze.
Application Techniques
Tools and Materials
Before you start sealing your acrylic paint, gather the right tools and materials. Here’s what you need:
- Sealer: Choose either a spray or brush-on sealer based on your project.
- Brushes: If you opt for a brush-on sealer, use soft brushes to avoid streaks.
- Spray Can or Airbrush: For spray sealers, you can use a can or an airbrush for more control.
- Drop Cloth: Protect your workspace with a drop cloth to catch any overspray.
- Masking Tape: Use this to cover areas you don’t want to seal.
Step-by-Step Application
Follow these steps to apply your sealer effectively:
- Prepare Your Workspace: Ensure you work in a well-ventilated area. Lay down a drop cloth to protect surfaces.
- Shake the Sealer: If using a spray can, shake it well for even distribution. For brush-on sealers, stir gently.
- Test First: Always test the sealer on a small, hidden area of your artwork. This helps you see how it interacts with your paint.
- Apply the Sealer:
- For Spray Sealers: Hold the can about 12 inches away from the surface. Spray in light, even coats. Move your hand in a sweeping motion to avoid puddles.
- For Brush-On Sealers: Dip your brush lightly into the sealer. Apply a thin layer, working from one side to the other. Avoid overloading the brush.
- Let It Dry: Allow the first coat to dry completely before applying a second coat. This usually takes about 30 minutes.
- Inspect Your Work: Check for any missed spots or uneven areas. Touch up as needed.
Using a waterproof spray for art projects can enhance protection against moisture. Remember, sealing your artwork properly ensures its longevity and vibrancy.
By following these steps, you will learn how to seal acrylic paint effectively, ensuring your creations last for years to come.
For long-term corrosion resistance, ZRC Paint Cold Galvanizing Compound from Marjan Polymer delivers unmatched protection on exposed steel.
Common Mistakes and Considerations
Avoiding Over-Application
A common mistake artists make is using too much sealer. You might think that more sealer gives better protection, but it can cause problems. Using too much can make the surface look cloudy or sticky. It can also create drips and uneven spots. To prevent this, use thin layers instead. Here are some tips:
- Use Light Coats: Start with a light coat and let it dry fully before adding more.
- Check for Puddles: Look for any spots where the sealer pools. If you see puddles, gently brush them out before they dry.
- Test First: Always try your application technique on a small area. This helps you see how the sealer works with your paint.
Environmental Factors
Environmental factors can also change how well your sealer works. Temperature and humidity are important for drying. Here are some things to think about:
- Temperature: The best sealing conditions are between 65°F and 75°F (18°C to 24°C). If it’s too cold or too hot, drying can slow down or cause problems.
- Humidity: High humidity can stop the sealer from drying well. If the air is too damp, wait for a drier day to seal your artwork.
- Ventilation: Make sure there is good airflow in your workspace. This helps the sealer dry evenly and keeps dust from settling on the wet surface.
By avoiding over-application and thinking about environmental factors, you can make your sealing process better. This knowledge is important for anyone learning how to seal acrylic paint well.
Advanced Sealing Techniques
Layering Sealers
Layering sealers can make your artwork safer. This means putting on several thin coats of sealer instead of one thick one. Here’s how to do it right:
- Start with a Base Coat: Put on your first coat of sealer and let it dry completely. This base layer gives some protection.
- Add Additional Coats: After the first coat dries, put on a second coat. You can keep adding coats for up to three layers, depending on how you want it to look.
- Check for Evenness: Make sure each layer dries evenly. This stops any cloudiness or uneven spots.
Layering not only improves protection but also helps you get a richer finish. You can mix different types of sealers to create special effects.
Customizing Finishes
Customizing the finish of your sealed artwork can help it stand out. You can pick between glossy, satin, or matte finishes based on what you like. Here’s how to customize:
- Glossy Finish: This finish makes colors pop and adds depth. It works well for bright artworks. Use a glossy spray or brush-on sealer for this look.
- Matte Finish: A matte finish gives a soft, subtle look. It cuts down glare and is great for textured pieces. Choose a matte sealer for this finish.
- Satin Finish: This finish is between glossy and matte. It has a slight shine without being too shiny. Use a satin sealer for a balanced look.
Tip: Always test your chosen finish on a small area first. This helps you see how it works with your paint.
Long-Term Care Tips
To keep your sealed paintings looking great, follow these care tips:
- Avoid Direct Sunlight: Keep your artwork out of direct sunlight to stop fading.
- Dust Regularly: Use a soft cloth to gently dust your artwork. This keeps it clean and bright.
- Store Properly: If you need to store your artwork, use acid-free materials to avoid damage.
By learning these advanced sealing techniques, you will know how to seal acrylic paint well. This knowledge will help your artwork last longer and stay beautiful.
Sealing acrylic paint is very important for keeping your art safe. It makes your artwork stronger and keeps colors bright. Here are some important tips:
- Pick the right sealer: spray or brush-on.
- Clean your surface before you seal it.
- Use thin layers for the best outcome.
By doing these things, your creations will last longer. Use good sealing methods to keep your art looking nice and fresh. Now you know how to seal acrylic paint well! Con Aumento Classe Energetica, il fotovoltaico accumulo casa diventa conveniente anche senza Superbonus.
